Oz Comic Con | Sydney | 2015

Panel’s weren’t as great as last year – but really, they’d be hard pushed to beat Shatner! Feel a little let down that Brisbane got Kevin Smith though and Mark Sheppard was at one of the other city’s too as his panel last year was hilarious. That said Richard Dean Anderson was entertaining enough but let’s face it, the day’s about all the glorious cosplaying and there were so many I didn’t get chance to ask (either space wasn’t available or they looked already inundated!).

As last year, had a lot of fun, great atmosphere and everyone was so happy and friendly when asked by a stranger if they could take their picture!

[flickr_set id=”72157658697927429″]

Week 10 | Symmetry

Week 10

Nikon D5100
35mm Nikkor DX Prime Lens
ISO100
f/2.8
SS ??

In Canberra for the weekend with Pam so edit and uploaded this with my Galaxy Tablet, dont recall the details (shot on aperture priority) so will update the SS once I can check the exif data.

It’s been a busy week, especially being short with being in Brisbane on Monday, so had a lot on with work and nothing struck me for inspiration for this weeks challenge as my mind was all over the place elsewhere, when I saw The Old Parliament Building in Canberra though I thought it was perfect for the brief – evident whoever keeps the property enjoys the symmetry from the small details such as the signs either side and the trees – the OCD in me though wish the line between the paving slabs was a few inches to the left though 😉

No behind shots this week, it’s pretty much me stood half way out in the road (thankfully a quite one) as I grabbed this whilst wandering with the camera. It is kind of weird to see how different the image comes out on the computer now having originally edited on the tablet, goes to show no matter how much the computer firms push us, tablets are no good for content creation (and that’s not even saying Photoshop for tablets is more like Instagram than Photoshop and crashes more often than Stevie Wonder in a Dodgem).

Week 9 | Door(s)

Week 9


Nikon D5100
14mm Rokinon Ultra Wide-Angle f/2.8 lens
ISO100
f/2.8
SS 8 sec

Struggled to think of anything inventive for this week (it’s been a busy one) and we’re away for the weekend so figured I’d nip across the road from work and shoot the historic Sydney landmark come shopping centre, the Queen Vicotria Building – afterall, it is a nice doorway (and I figure doorway falls under the brief of Door(s)).

To get rid of the late night shoppers I opted for a few long exposure (30 seconds f/22) but even they were full of ‘ghosts’, this shot was massively overblown but when exposure corrected in photoshop it proved to be the best in terms of lingering people. Spent a bit of time in the lens correction as the distortion was quite evident at this distance, I also tried to adjust a little for the tripod not being happy in portrait alignment too (overhand a little, for the life of me I couldn’t lock it square on).

As with last week, not massively happy with the image, maybe it’s because the first few weeks offered such a chance to do so many different things and I’m simply at a loss on how to be inventive with the brief, so maybe I’m not happy with myself, rather than the picture.


Wattle Bay After Sunset

Had a wander up to Annandale for dinner (Bar Asia – great place) and captured these on the way back, it’s amazing how the lighting affects as the same views on the way up just weren’t appealing (or maybe my mind was more on the delicious tea it was expecting) but as soon as the sun had dipped I had to break the camera out – will be around for a few more on a less cloudy night as there were many more I wanted to capture on the way around the bay on our short trip home but couldn’t afford the time (had a few, erm, let’s say pressing matters to attend to – the foils of a post-dinner shoot)…

[flickr_set id=”72157650981067595″]

click to enlarge

All shot with my Nikon D5100 using the Rokinon 14mm Ultra Wide Angle lens at ISO100, the first two are f/6.3 for 30 seconds and the latter f/2.8 for 20 seconds. Reasoning was I wanted to the maximum time to get the water still and the plane descending but didn’t have the remote on me so couldn’t use the bulb setting. The larger aperture and shorter time on the third was to prevent star trails whilst allowing as much light in as possible – I could’ve probably risked upping the ISO here as even 2-300 shouldn’t see much noise given past experience, but then I don’t want so many stars it detracts from the ones there (again, have this from past experience) – I think Orion in the bottom left stands out quite well, below though I’ve doodled over so you can see more clearly (worked from a google search, his bow may not be 100% accurate..):

_DSC0181


[edit]

Went back the day after and got another two pictures (now showing as four and five in the row above) that I missed, took me tripod this time and remote shutter – this meant I could dial the aperture all the way down to f/22 and leave it running for 150 secs to really smooth out the water and get some really big starburst on the lights. Downside is the stars you can see are smeared across the sky, I could photoshop them out but I like to keep that to a minimum.

Week 8 | Still Life

Week 8


Nikon D5100
35mm Prime Lens
ISO100
f/8
SS 1 sec

I’ll be honest, I had to google the meaning of this weeks challenge and wasn’t massively happy with what I saw. It was simultaneously full of potential but also seemed so boring, I couldn’t really think of what to do so I googled some popular images and came up with the top left of the one below:

Week 8 Idea 1I had a quick practice, broke out the speedlights and triggered them from the body flash to try and capture the water in motion being poured from a bottle and quickly realized this isn’t how they achieved that image due to how the water behaves when it’s poured.

With this I went back to thinking, it must be poured, also, all the flash reflections (even with a polarizing filter and flash diffusers) in the glass must mean it’s ether back or top lit.

So, come Thursday night and it being (a conservative estimate) around a billion degrees I couldn’t sleep so figured I’d have another go and broke out all the gear (the fun part of breaking out is all the gear, the downside is having to put away all the gear when done).

I stripped the reflector off my giant diffuser and set-up both speedlights on remotes behind it to back light on full power, lined this up behind the sink and set the camera up at the far end of the counter on the tripod so I could capture the water being poured (I’d actually picked up some cheap raspberry cordial as I thought the undiluted mixture would be a little more syrupy and give it a little more body to its movement).

The results weren’t too bad – with a couple of obvious flaws:

The big flaw being fingers. We don’t drink so we don’t have any stemmed wine glasses which I could’ve then cut off with the fake reflection/table.Week 8 Idea 1b

Also, I shot this a little late, the timing between tipping and using a wired remote to fire the camera (I figured wired would be a little more reliable than the cordless as the infrared one doesn’t always shoot when you ask it). This has led to it looking a little obvious that it’s being poured out, I guess instead of going all the way pouring I could’ve just jolted the glass to get the liquid to escape too.

I also didn’t do the reflection as well as I could, it looks quite obvious but, to be honest, I couldn’t really care, it could be it was two in the morning but mostly it’s the fingers – there’s no way around that it’s going to look fake.

Now, I could’ve gone out and bought some stemmed glasses for this and re-setup and re-done the shoot but my curiosity was sated. I’d worked out how to get the image I didn’t really want to go through all the hassle to actually get the image. If I need a shot like this, I know how to go about it, but right now, can’t be arsed.

So, this moved us on to having to do another shot and I was a bit of a loss until I saw some glasses lined up at work and each looked to have a smaller version inside it due to how the glass warped the view behind it.

I thought I’d isolate off some we have at home and grabbed some black paper from the local craft store and made a mini-studio drop but the black in the card was a bit reflective and bright (if you can say black is bright?) so this meant I struggled more with the lighting as I couldn’t have the aperture/iso/exposure (take your pic) too long otherwise you’d start to see the shoddy card box.

Week 8 - Behind the scenesSo using the flash on a remote held above to bounce off the ceiling to diffuse and soften the flash I went through and tried several setting before getting what I thought was a good enough mix – using helicon remote to set the focus (with a bike light to see what I was doing). The end result I’m thoroughly ‘meh’ about, it’s not what I had in my head, the glasses we have at home warp and distort unlike those I’d seen at work and having to make the image dark enough to not see the framing means the edges of the glass just disappear into the background.

I guess there was going to come a week when I didn’t enjoy the challenge so much, my inspiration was off and I’m not happy with the result – but that was bound to happen sooner or later and at least now it’s over with, roll on next week, hopefully we can get back to something that’ll spark the ol’ grey cells and light up the imagination.

Maybe I should’ve just recreated my “Han Shot First” picture I put on Instagram a few month back…

Han Shot First

Luna Park by Night

Though, to be honest, it’s more Sydney Harbour. Pam wanted to nip up to take her picture for this weeks 52 week photography challenge so I thought I’d try out my new ultra wide angle lens for some nice panoramics of the harbour (frowned upon by ‘real’ photographers, as ultra wides aren’t for “getting it all in” but hey, I like to experiment :p )

[flickr_set id=”72157650817602505″]

Week 7 | Love

Week7

“Love to Read”

Nikon D5100
35mm Prime Lens
ISO100
f/1.8
SS 1/20

Heart shape camera filter to shape the bokeh, two images double exposed over each – one with a red filter to colour the bokeh the other using a speedlite flash to pick up the comic book in better detail.

When thinking of what to do with this a technique I’d seen on a website recently came to mind: http://www.apartmenttherapy.com/make-your-own-bokeh-effects-filter-for-your-dslr-168271

So I nipped to the local craft shop opposite work at lunch and grabbed some black card and a heart shaped punch, spent the afternoon at my desk being crafty and I had a lens cover to shape the bokeh.

Week 7 - Behind the scenesEffect works quite well, have shot a fair few of the christmas lights out of focus in the background there so I can overlay these into other pictures in the future.

Personally I’m not happy with the halo’ing around the book at is draws attention to the ‘shopping, even though they’re there in the original. I think in future any such work I’ll either tether directly to my computer so can review instantly (so spot the halo’ing sooner) or at least review the images before packing the gear away.

Behind the scenes – though you can’t see the back of the table jacked up on WiiU game boxes so the angle of view lines the comic book up with the lights behind.

Link to the original Facebook thread here.

Week 6 | Shadow

Nikon D5100
35mm Prime Lens
ISO100
f/1.8
SS 1/4000

Struggled with the picture for this week.

Not for the idea, had that Monday, as soon as I saw Shadow was the theme I thought of Pol Úbeda Hervàs series “I’m Not There“.

The struggle was the dull overcast weather we’ve had all week, thankfully the sun came out for the weekend!

Also struggled with the shadow a little, I was eager to get out and get this shot before the sun had a chance to disappear (I’m British so it’s pretty much a reflex to enjoy the sun whilst it lasts) but the early afternoon light left me with quite a short shadow, this though has pushed me to learn another new photoshop trick, free form transform tool.

The image creation itself was fairly straight forward, set the camera to manual and dialed in the settings I felt worked given the bright light, Pam standing in for me to get focus (which was also set to manual).

We swapped positions and I fired off the camera with a wireless remote. Scarpered out of shot, leaving my flip flops in place and took a second shot.

This is where having all the settings on the camera set to manual are important, it gives me two shots that are close enough to overlay in photoshop to erase myself. Even a slight change in focus or aperture would mean they wouldn’t line up and make this more hassle than it’s worth.

Week 6 - Behind the scenes
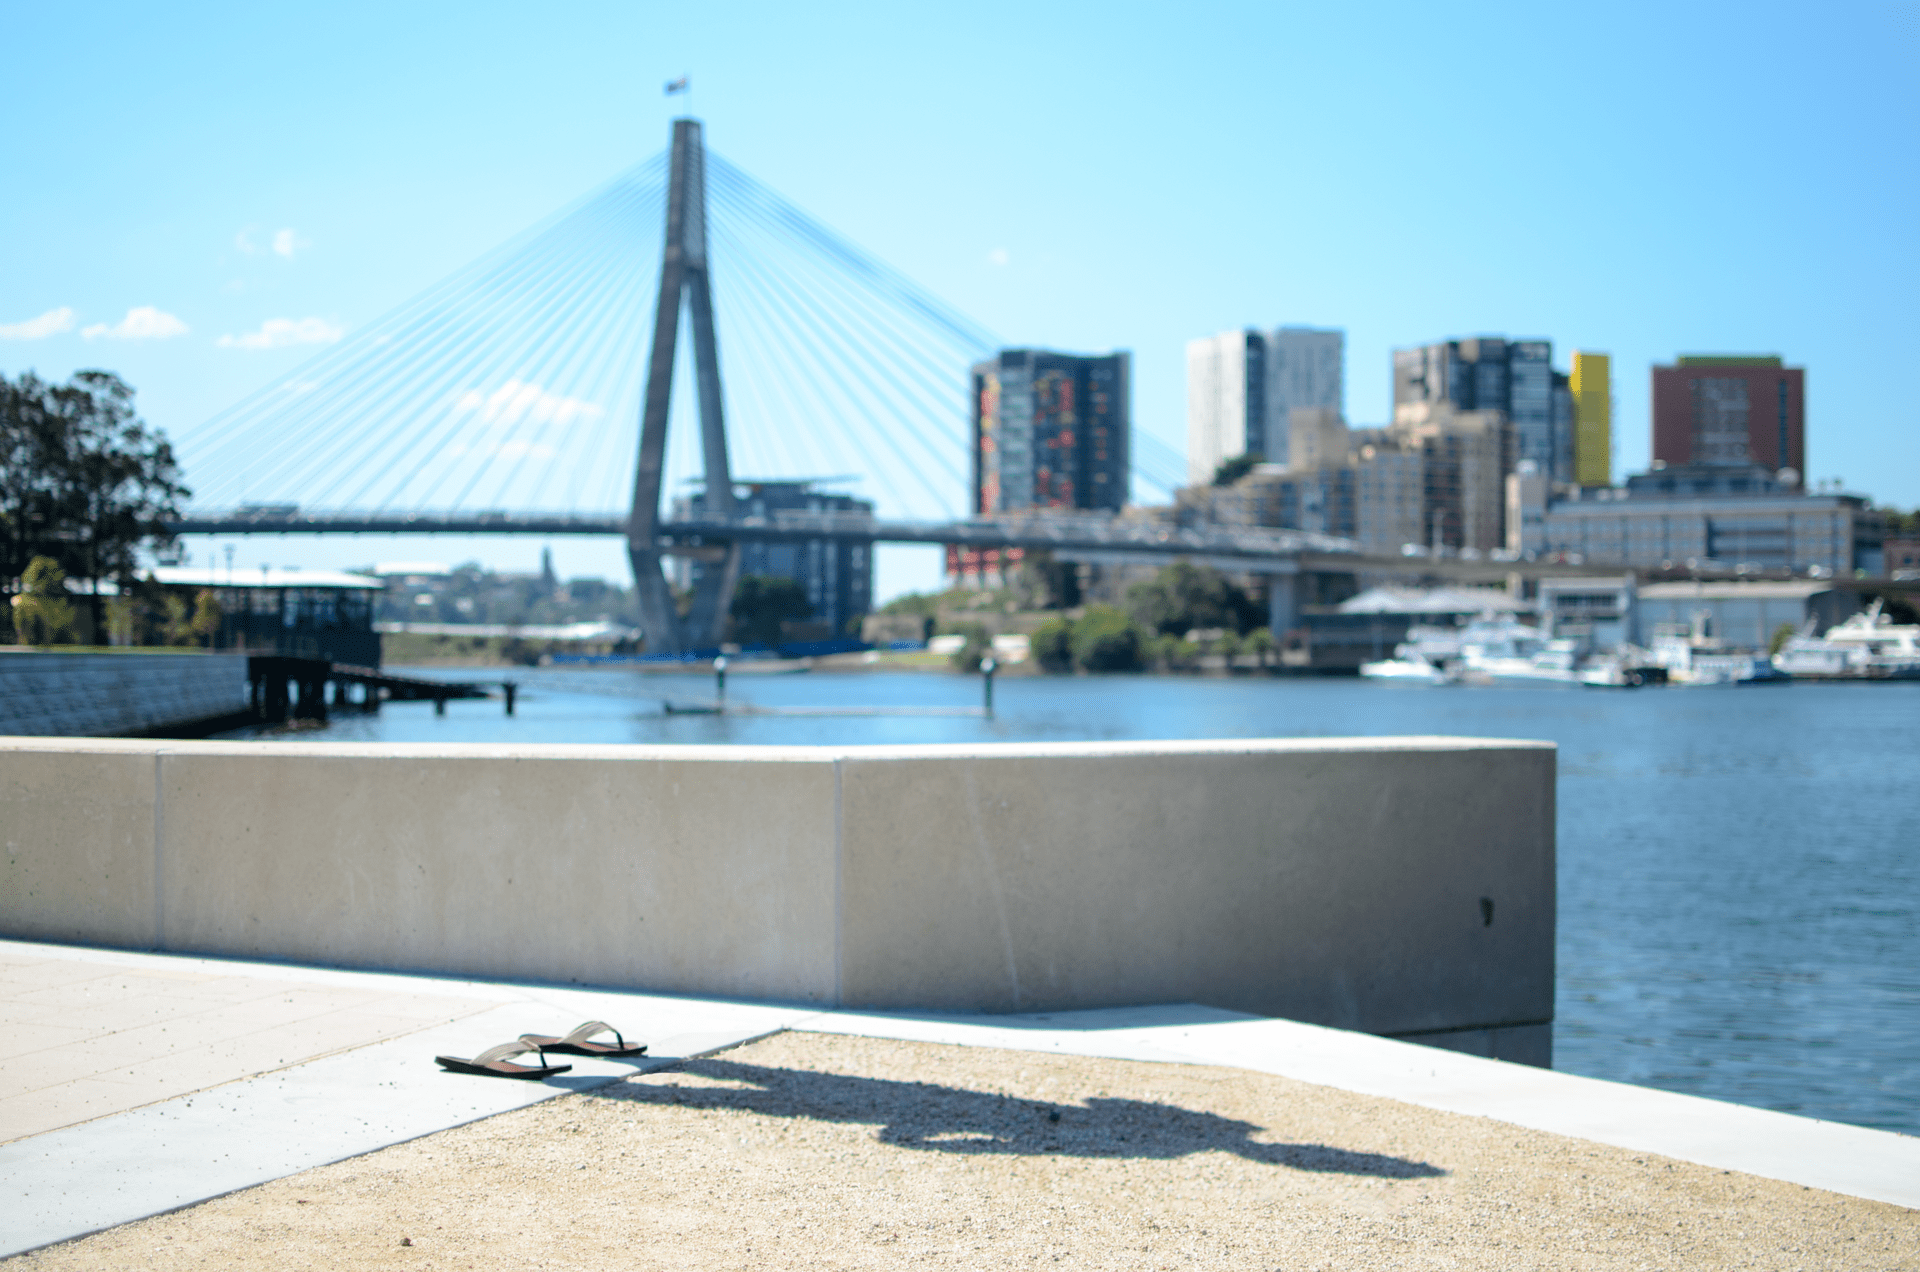
I’m presuming this is the technique Pol used (though probably a timed shot rather than remote, as he has great detail of his hands in some of the shots – I lost detail on my left arm trying to get the remote to fire).

In retrospect I should’ve probably focused more on the shadow than having a nice backdrop to the image, though I guess when you directly compare your work to a great artist you will find it lacking.

I picked this style though as it resonates a lot with me at the moment. We moved to Australia a little over eighteen months ago but I’ve not really had much time to enjoy it. The job that brought me here has been very challenging and I’ve worked so many hours overtime (my record so far is a twenty-seven hour shift) that I’m simply left with very little free time to enjoy such a beautiful place or, to be honest, the volition to do so being lethargic and drained constantly. “I’m Not Here” as an emotion is a constant companion.

Behind the scene shot to the left here, original two images pieced together. Link to the original Facebook thread here.

Week 5 | Warmth

Week5

The warmth of a hug from a loved one..
The warmth of the morning cuppa to wake you..
The warmth of a sunset celebrating the days end..

OR a self portrait, sparkle/shine macro, dreamy sunset all set in a triptych about warmth. That wraps January in a bow 🙂

Self Portrait:
Nikon D5100
18-55mm DX Kit Lens @ 18mm
ISO 100
f/3.5
SS 1/15 sec

Speedlight on body, set to bounce at an angle.

Sparkle/shine Macro:
Nikon D5100
50mm FX prime lens with +4 macro filter
ISO 100
f/1.8
SS 1/60 sec

Off camera speedlite remotely triggered with fairy lights in the background to twinkle in the bokeh.

Dreamy Sunset:
Nikon D5100
35mm DX prime lens with a +9 ND filter
ISO 100
f/22
SS 30 sec

No additional lighting.

This shoot was basically “Use ALL the toys” as it’s the first time I’ve broken out the remote speedlite controller, the macro lens, used Pam‘s nifty fifty and the ND filter. Along with all the gear I usually use (such as my tripods, remote shutter controller, pad controller software).

Out of all the images I feel I rushed the portrait a bit (especially in adding the fake bokeh background I’ve accidentally given myself a much needed haircut, but missed a chunk at the front) and I struggled to find a good spot in Pyrmont for the sunset, but given the time I got out of work it’s all I could get (and at least we had a sunset today as it’d stopped raining finally!).

I’d’ve liked some ‘wisps’ from the cuppa too but I think they bokeh’d out as they were definitely there when shooting.

Oh well, just glad I managed to get all five themes into one picture (this is going to get more difficult as time goes on 😉 ).

Week 5 - Behind the scenesA little behind the scenes, top image is the selfie set-up and the bottom is the cuppa – I figure a camera on a tripod for the sunset is fairly standard and folk know what that looks like :p

Link to the original Facebook thread here.

Week 4 | Dream

Week 4

So this is probably the most photoshopping I’ve ever done, the floating Pam I’m still not 100% happy with but I’ve done as much as I can.

So, first picture:
Nikon D5100
18-55mm Kit Lens @ 20mm
ISO 100
f/3.8
SS 5 sec

This was Pam on the bed (the Dreamer), layer duplicated, blurred and then a layer mask with reflected gradient pulled in the Pam in focus from the original layer to give a false depth of field I couldn’t get with the lens.

Lighting her was difficult as both my speedlite and ring flash were too bright and harsh, so I ended up using a bicycle light, through a popup flash diffuser and a toilet roll tube to shape the light, all covered in a carrier bag to stop too much light getting out.

Gradient layer mask used to blend the night sky in:

D5100
35mm Prime Lens
ISO 100
f/1.8
SS 10 sec

Lots of exposure correction in ‘shop to get the detail, the original image was pretty much black – the 10 second exposure gives a little nice movement to the stars to give them an extra ‘odd’ quality to detract from reality.

D5100
18-55mm Kit Lens @ 22mm
ISO 100
f/4
SS 1/6 sec

Final ‘foaty Pam’ (the Dream) was shot on my TV stand (having cleared it of the Amp, speakers, WiiU control bar and my Lego Star Wars spaceships), I threw a sheet over the back to help separate her in photoshop later and some Christmas tree lights to add some extra odd lighting to her body (as well as full illumination with my ring flash to contrast the sleeping lighting below).

In photoshop I duplicated her layer and added a lot of diffuse glow (like, a lot) and then did a gradient layer mask to pull through only a little on the top half of the image. Magnetic selection tool to pick out around the body, feathered 20 pixels to give them a see through quality (to make her a little otherworldly) and then when I pasted the layer into the final image I drop the layer opacity 10% to help. Pam helped out with some directions on getting the image to match in better (colour adjustments and cloning some of the hair out).

Overall desaturated the image (as Iron Maiden said, “You only dream in black and white“) and then resized down from 4464 pixels square to best with the internet.

Originally I wanted to shoot ‘the Dream’ underwater but that didn’t work out well, only waterproof camera I had was my mobile and it was terrible – plus our apartments pool is quite murky with chlorine (well, I hope it’s because of the chlorine) and to top it all off I think I nearly drowned her, so thought best to take a different stab at the floating image..

In hindsight I’d’ve probably tried to reproduce the camera settings and use a custom white balance for the two pictures to try and better merge them. I thought using bold light on the dream vs the dreamer would be a good effect but now looking at it the harsh light just extenuates the fact she’s pasted in.

img_002_5_colourNow I’m not normally one to shoot in black and white; there’s just something about b+w shots that look pretentious in the modern age, it’s like “ooh, look, I’m an artist as I shoot in black and white” – now don’t get me wrong, there’s a lot of great artists shooting predominately in black and white and their pictures look awesome, but us enthusiasts? So unless the brief fits it, or it improves what I’m trying to do with the picture, it’s going to be in colour.

Even for this shot, personally I prefer the one on the left here as it looks closer to what I had in my mind when I pictured it, again though, for the brief I thought B&W would make more sense.


So some behind the scenes shots:

  • top left, Dream Pam modelling on the TV stand
  • top right, a terrible attempt at underwater photography
  • bottom, soft lighting to pick out Dreaming Pam from the rest of the room.

Link to the original Facebook thread here.Week 4 - Behind the Scenes